Pages

Tuesday, May 20, 2014

A Craft A Week: Week 17 - Refashions, Monster Bookmarks, & Fishing

It was Friday night.
I was home alone.
No wait, Reed was with me.
And it wasn't night yet, it was late afternoon.  It might even have been Thursday.
Ok, nevermind.  The point is I was crafting!  I had grabbed 3 t-shirts from my closet, my cutting mat and rotary cutter, my little LadyBug friend (does she need a name?), and sat on the floor with Reed to cut and sew. 
Then I cut the arms off each shirt.  Snip, snip.  And a straight line to cut off the collar of each.  Snip. Snip. Snip.
Then Reed and I played dress up in all the "armpits" and "necks"!


Out comes the "pokies" and I pin down an edge on the front and back of each of the shirts, this is where the straps will be thread through.
Stitch it closed, but don't let your three-year-old help otherwise the line will definitely not be straight (honestly though, it doesn't matter because the top gathers and you can't see the thread anyway).
Now you just need to thread through your choice of ribbon or tarn or whatever you want to be your straps.  I don't think you can see it on the right side of the picture below, but it's one long piece of ribbon threaded through the front then the back and tied to it's other end.  It creates adjustable straps for the shirt.  I used the same ribbon for all three shirts because it was cheaper to buy in bulk :)
I suppose I could have washed the mirror first.  Yikes!
Saturday, May 17th was my very special 36th  birthday.  My Dad and Momimi sent me a Martha Stewart Craft Station:
"Its versatile design and included high-quality accessories make it easy to expertly cut, trace, stamp, and emboss in one convenient station. Perfect for creating holiday greeting cards, scrapbook pages, party invitations, and decorations, the Craft Station also makes a thoughtful gift for the avid crafter." - Amazon.com
Very cool!  The Craft Station includes: LED light box with 12-by-12-inch scratch-resistant glass, stamp alignment guide, embossing stencil and tool, craft knife, five tracing and cutting templates, movable ruler arm with blade shuttle, and two replacement blades for the built-in blade shuttle.  The LED light box with the scratch-resistant glass with cutter is my favorite, but I also really can't wait to use the embossing tool on a project.  Fun, fun, fun!
Mike's Dad and Mom-Gumi sent me a $50 gift card to Joann's Fabrics.  I feel so Blessed!  What should I get?  Maybe something to emboss or cut?  YAY!  Fun, fun, fun!
I was remembered and wished a Happy Birthday by so many wonderful friends and family, my day felt truly special.  Hubby had to work all day, but when he got home he made us a nice dinner and gave me a delicious cake!
Then I relaxed with a glass of wine and we sat down to watch Avatar the Last Airbender while learning to fold Monster Bookmarks with Origami paper.
http://tallystreasury.com/2011/02/corner-page-bookmarks-3/
I just realized at this moment that I didn't take a single photo of the process of making these cute Monster Bookmarks, but the tutorial is pretty straight forward and we didn't get nearly as fancy as they did.
Chase was working right along with me.  He made a few different ones.
When Blake saw our first Monsters done, he decided he wanted to make some too.
And of course Reed had his own agenda.  He used every scrap piece, whether it was really a scrap piece or not, to make his creature.  I think it's actually pretty stinkin' cute.  He glued all the pieces on himself and asked me to draw eyes and a mouth.
On Sunday, Hubby gave me the birthday present I asked him for: a trip to the beach to collect shells.  He took us all to Bolinas, CA.  I have never been to a beach LOADED with shells!  We couldn't possibly carry all the shells we found in the first 2 minutes.  Mike told us we weren't allowed to collect anything, we had to walk to our "spot".  We passed beautiful shells, amazing tide pools, super cool drift wood branches, we walked forever!  And we found the perfect spot!  Nobody was around, tide pools all around us, and the perfect place to fish for sharks!  We caught 4 sharks, 2 different kind of perch, and Chase caught a skate.  We let them all go of course.  I can't believe I didn't take any pictures of the tide pools we were playing in, I was trying to preserve the battery life in my phone as well as protect it from water.  I did get these photos:
 
Fishing is a craft, right?  :)
 
 
Then we all got severely burnt, almost didn't make it back because the tide was coming in, but we still got a whole heaping bucket full of beautiful shells!  It was all worth it, what a gorgeous day and a spectacular way to spend time with my guys.

Love,
Momma Lady Beetle

Thursday, May 15, 2014

A Craft A Week: Week 16 - Fabric & Foam Decor

We did a lot of crafty things during Week 16 of my (our) challenge.  Chase said he wants to do the same project I do each week, it will be almost like I am teaching a craft class... oh joy.  Just kidding, but I knew he was saying that and wouldn't make the time, silly pre-teens.
 
Anyway, this week was also National Don't Use Electronics, or something like that.  On Monday Hubby took the kids to the park to throw around the baseball.  On Tuesday I played board games with the kids.  On Wednesday night we planted a garden!  That's crafty!  Right?  The day prior Reed told his daddy that we wanted to plant flowers and Chase said we needed a garden.  So Hubby went and bought a tomato plant, a bell pepper plant, a basil and strawberry plant as well as some flowers for Reed to plant.


On Thursday night it was just me and Reed so we hacked in to some lobsters!!
Ok, not really.  We painted sea shells red and it just looks like the poor dears are bleeding to death.  As I was cleaning up after painting the shells blood red, Reed decided to open the gold glitter and spill it out on the hardwood floor.  Ergh.  So I cleaned up what I could and then sprinkled some on the wet paint (turned out pretty cute actually).  Then we used some thick floral wire and wrapped red yarn around it (because Momma didn't have pipe cleaners) and we hot glued one end inside the body and one end to the claws.  The last step - Googly Eyes!!


UPDATE!!  I finally got those red pipe cleaners and added legs to my Shell Lobster.  Then I glued him to a framed decoupage monogramed "M" piece I made a few weeks back.  Check out how I made the "M" here: http://mommaladybeetle.blogspot.com/2014/04/a-craft-week-week-11-ocean-theme.html
On Friday, Reed and I ironed our fabric squares to cover our 12x12 foam boards to make some wall décor.  Reed bravely held my arm and helped me move the iron around the fabric to get all the creases out.
 Then we cut the fabric to size.  I think I cut them to 16x16 to cover the front (12x12) each 1" side, and have enough room to glue to the back.
I wrapped the foam board with the fabric and, using the glue gun, glued the fabric in place.  I did this to four foam boards, all different fabrics.
Not great photos AT ALL, too blurry.  I knew before I hung them they would need something more, but here they are.  Maybe I should glue a bud vase on the bottom right square and put a flower in it?


Maybe something like this... This idea is advertised on Michaels.com.  I was thinking just one bud vase with one flower.
Or this idea with branches from my garden or from a hike down by the river.  Then I can make some sweet paper flowers too!
Or maybe I could make this bunch of faux flowers and glue them on.

I've shown this next picture before, it's another option, to put a monogram (I'm obsessed with monograms), or spell out something as a welcome since this is hanging on the wall right next to my front door.
For Craft Week 17 I spent a lot of time helping Chase with a project for school, gluing and re-gluing and making paper streamers for a float on a skateboard he had to make about Georgia.  We also spent a good time collecting bugs for Reed's new pet lizard Larry.  Hubby and Reed found him on a hike down by the river and brought him home... oh joy.  Larry is a blue bellied lizard.  He is actually pretty cute, but... why do we have him in our home?


So this I have some ideas for tomorrow night and Saturday to get a craft done.  On Saturday is my 8th 29th Birthday, so who knows what I'll actually be able to make (I have a couple t-shirt refashions I want to make, but I've done this style already so I won't count them as my Craft A Week Craft).  On Sunday morning we are all getting up SUPER early and going to Bolinas CA to collect sea shells and shark teeth and drift wood and what ever ocean treasures we can find.  Next week I was thinking about tackling dying my kitchen rugs with some indigo blue dye.  I need to buy a bucket.  Maybe I should find some t-shirts to tie dye along with my rugs.  Any who, it's getting late and Reed is hitting me on the head with LEGO people, time for bed!

Love,
Momma Lady Beetle

Tuesday, May 6, 2014

A Craft A Week: Week 15 - No-Sew Pant Hemming

My time at home sick with Reed was first spent making him a Robot costume!  We took a cardboard box and covered it in Duct Tape.  Then we added a few "buttons" (stickers).  Lastly we added some Duct Tape straps so it could easily hang off his shoulders.

I knew I was back to normal when I had enough energy to start my hemming project on my new linen pants.  A while back I searched for linen pants on Pinterest (not sure why) and found these:
Clicking on them took me to eBay where I bought them for $19.99.  They are coral and have a Yoga pant top.  COOL!  I just needed to hem them up because I am only 5'1" tall and these were really long on me.

While sick I Googled "How to Hem Pants" and found this tutorial: http://www.womansday.com/style-beauty/fashion-style/how-to-hem-pants-113774#slide-1  I basically followed it, with a few differences.

STEP 1:  The website says to remove the original hem.  I didn't see the point in that because I was cutting off so much fabric, so I skipped it.  My first step was to put on the pants and fold up the fabric to the correct length and pin it.  Then take the pants off (this is an important step).  I pinned them all around the bottom where my hem will go and I pinned the part I'm going to cut off.  Then I wondered why I did that and took those pins back out (a few steps from now). 
(This is about where I stopped and took time off to feel icky with Reed.)
I knew I was feeling better when I picked up the project again.  Looking at the tutorial, the next step was to... oh wait, not only did I pin them twice, I also pinned the wrong side.  I quickly ironed them and reversed them and re-pinned them.  Ugh, I hate being sick.  Ok, now my next step was to get out the fabric pencil and mark one and a half inches from the new bottom.  This will be my cut line.
 Can you see my marks?  The pencil was red.  Nice.
Then I used my mom's old pinking shears to get a nice cut that won't unravel easily. 
Then I used a blind stitch to sew up the hem!  The tutorial will be real handy to show you this.  Basically you will only grab one thread on the pant.  It was amazingly simple and easy, you just need the time to do it.
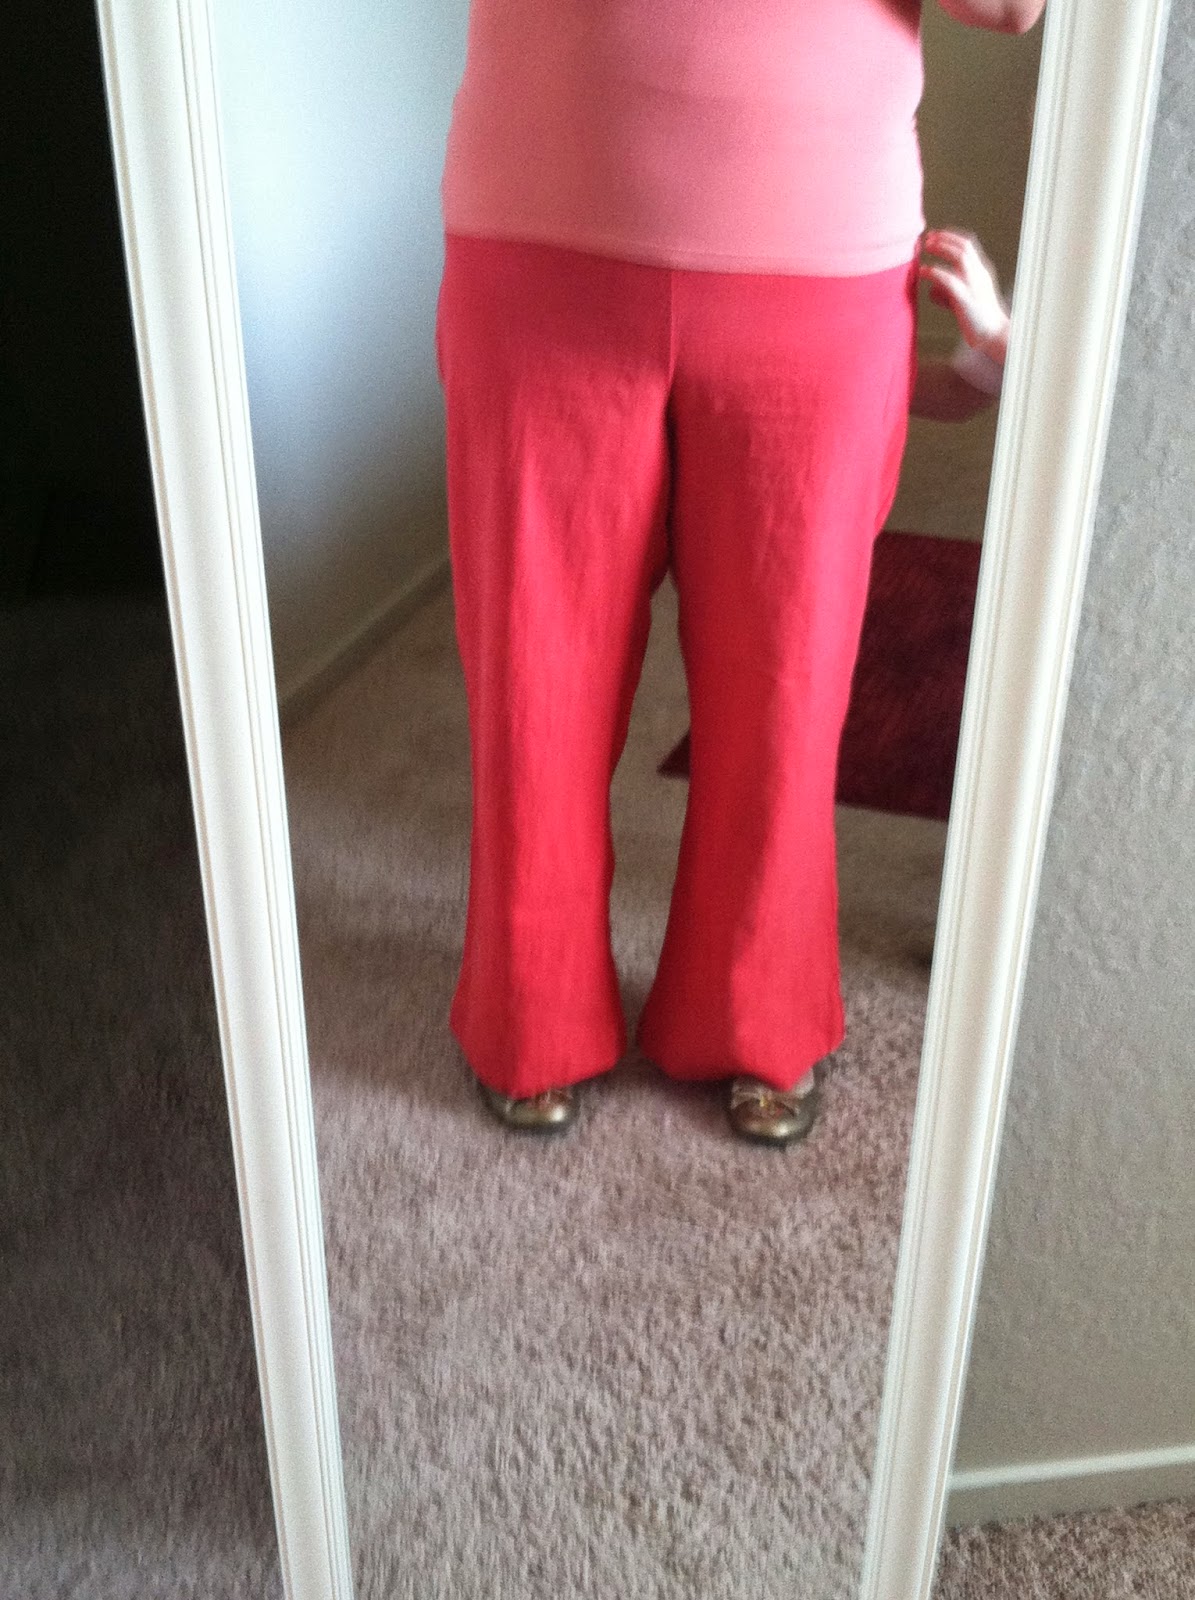
I don't have a picture of me wearing the pants because A) it was dark in my room when I got ready for work the next day, B) my toes are ugly and haven't been painted, C) I then washed the pants and some of the hem has come out.  Well, it was my first time hemming; I'll fix it up and make it better.  Then maybe I'll give myself a pedi and take a good picture too.

UPDATE!!  I re-hemmed the pants and took a few pictures before I ruined them again.  I wore them to church as shown with one of my DIY cardigans I made before I started this Blog.


Well, it took me two weeks, but that's my "Week 15" project: No-Sew Pant Hemming.

I have a few projects I need to work on: finishing the curtain in my downstairs bathroom (I bought a curtain rod from Amazon, it arrived yesterday), I need to fix a mirror and re-hang it, I bought some foam board and fabric to make some wall art, and we have another walk/run coming up this Saturday: Race for the Cure.  I need to get Reed a pink shirt and make it cowboy/western-ized.  There is a project I've been eyeballing, but would take me a month or so: a shag/rag rug.  Here are some inspirational photos: